A Blog For The Farm Happenings And Whatever Else Strikes My Fancy.

Tuesday 23 May 2017

Spring Project and a New Summer Look

While I had every intention of writing and creating projects all last week, I had a cold that I just could not shake. I do apologize for how long it's been since I've posted.

Spring is full blown upon us (Pollen and all) and boy has it been a busy one! The weather has finally turning nice and the sun has been out, a little too much perhaps. Thursday it was 96 degrees outside! Now that is warm. With all this warm weather and budding flowers I've been thinking a lot about the summer and this (literal) new season in our lives. This summer is going to be a really good one. I just have that feeling. 

I typically don't like the heat much at all but I've actually been really excited for the temperature to be rising because over the winter I picked up a bunch of summer dresses on sale for super cheap and I've been eager to get them out of my closet. 

To go along with this "New Summer Look" theme I have two things to share with you. The first is: I have bangs now! I haven't had bangs since I was about 6 years old and I just decided that I wanted something really different and so I am going to have bangs for the summer. I do think I'll let them grow out, but for now I'm rather enjoying them. I only just cut them Friday so I'm not quite used to feeling them sit on my forehead yet, I'll be used to them soon though. What do you think?

The second thing I want to share with you today is this dress!  This is not one of the ones I mentioned above that I got over the winter, although in a way I sort of did... 


My mother, who knows me all too well, gave me a bag of ugly clothes for Christmas. Now, you may be asking, "Why would someone want ugly clothes for Christmas?" Well, I would! And I was so excited to receive them! Although they weren't clothes I would wear, they were made of amazing material that was just begging to be cut into. I immediately paired these two dresses together to be the perfect combo of elegance and ruggedness but I didn't get around to putting the project together until just recently. And I have to tell you... This is probably my current favorite dress. It is so much fun to wear and it really could work for almost any occasion! I'm in love.

Some of my Christmas clothes!  

Although I did like this dress, it was four or five inches shorter than I want to wear.

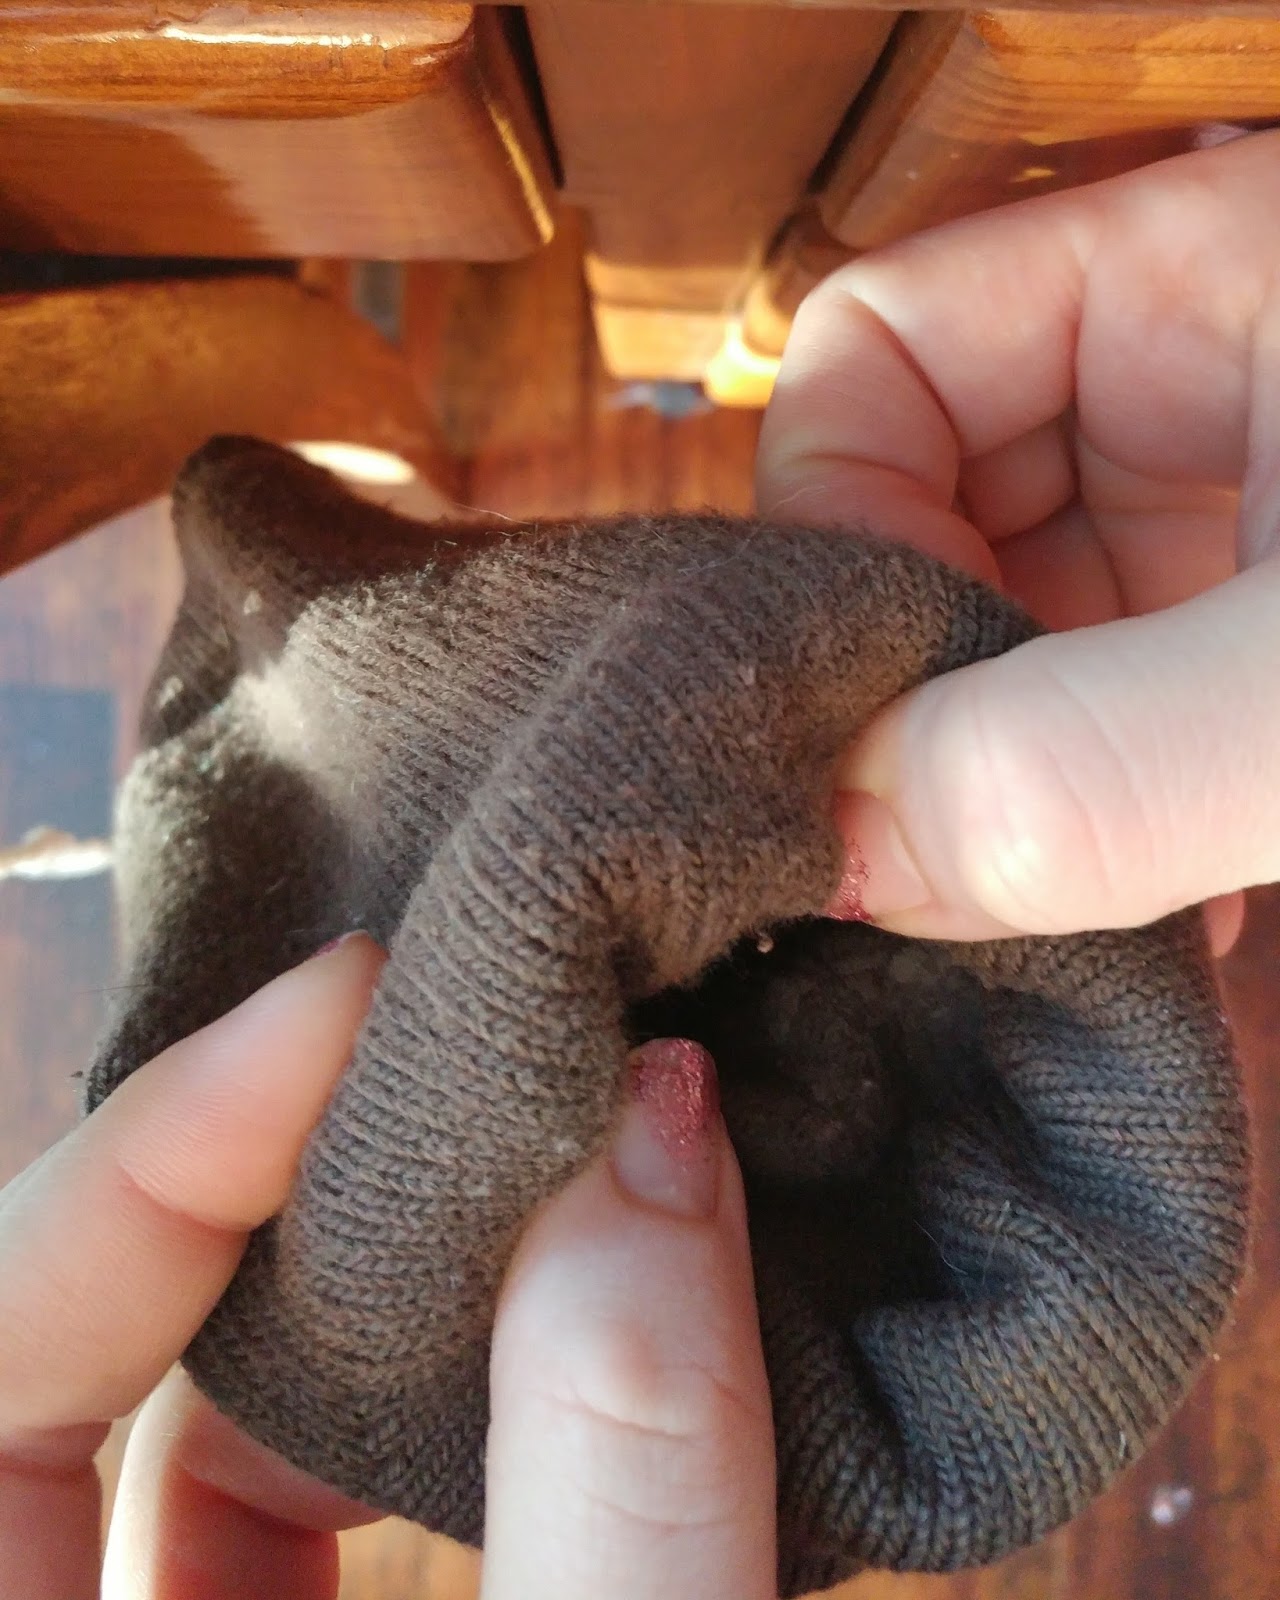
The project was super easy. I cut the skirt off of each dress, pinned the white skirt to the brown top, sewed them together, and now I have a brand new dress! The brown top has a drawstring waist and the white material has enough give that I didn't have to worry about closures at all, which is always a relief. 

This dress was a not quiet my style and a  little fancier than something I would wear, especially not on a regular basis. 

I'm sure you won't find the exact same two dresses, but hit up your local thrift shops and find two dresses to combine. Be daring and pair materials that wouldn't typically be put together. You just might surprise yourself! 


Please share in the comments what contrasting garments, accessories, etc that you like to pair. I would love to hear your ideas! 


Shared on the Homestead Blog Hop

Tuesday 11 April 2017

DIY "Pill Pockets" for Your Goats


So many farmers dread it when the time comes to give pills to their animals. It can be a nightmare. holding the goat still, prying their mouth open, shoving things down their throat. It's really not any fun. So wouldn't it be great if you could just head out to the barn, hand the pill to the goat, and watch them as they excitedly gulp it down and ask for more? 

I came up with this super easy recipe after being totally fed up with giving pills to a whole herd of goats. I knew there should be an easier way... so I created one. Mix these up for gang. You won't be sorry. 


All you need for this is: 
  • Peanut Butter
  • Molasses
  • and Flour

I know I didn't this time, but I would suggest a natural peanut butter. Some Peanut butters have chemicals in them that goats should not be eating. 

Either Baking or Blackstrap molasses is fine, but Blackstrap is better for the goats. 

As for the flour, I wouldn't really recommend bleached, white flour. But really any flour will do. It doesn't have to be wheat flour either. Almond flour, Coconut flour, Buckwheat flour, Rice flour. Even cornmeal should work fine. 


You need equal parts of each ingredient. I used, probably, 2-3 tablespoons of each. I honestly don't even measure. Mix them all up in a bowl until it's the constancy of play-dough.  Add flour if it's too goopy. 

I usually leave the dough in the bowl and head to the barn before I form it into the pockets. The dough "melts" a little if you let it sit; it's not too great at keeping it's shape. It might help if you were to add more flour, but I've never minded that it does this. 

When you're ready, roll the dough into tablespoon sized marbles. Select your pill and push it into the marble. Then pinch the dough so that the pill is entirely enclosed. 

You can then sit back as you watch your goat happily munch down her pills. Just like that. 

Just make sure to give them to the right goat and not to let them "share" with each other. We don't want Sally to get Bertha's meds.


Not all goats will think these are the bee's knees. I've had a few that absolutely refuse to eat them. In this case, you will still have to wrestle pills down their throat. I have a pill gun that is reserved for these "special" goats. If you're looking to buy a pill gun, don't buy one marketed for goats. I find the goat specific ones are never long enough and never rugged enough. I use a calf pill gun (Make sure it's for a calf not a cow or it will be too big) and that works beautifully.  It's messier and more effort than a neat little pill pocket, but sometimes it's still very necessary. 

Good luck with your herd! Let me know if you try this and how it worked for you. I love feedback! 


NOTE: Consult your veterinarian before feeding any pills (meds, boluses, supplements, etc) to your goats. Ask them about this form of feeding, it may not be right for your individual situation.  


Monday 10 April 2017

2017 Kids

Pippi and Matilda have both kidded! Super easy births with super healthy kids! Tilly had 1 buckling and Pippi had 2, making a grand total of 3 bucklings. Pippi's kidded on March 31st (one of her boys was HUGE!) and Tilly was April 6th. I already have homes lined up for all three of them, so unfortunately I won't have any kids available for sale this year. and those two being my only does this year, that wraps up the kidding season for me.


Monday 27 February 2017

Hide The Mermaid Game


In our house this is called The Mermaid Game, however, it is not limited to mermaids. You know those little glass figures that come in the boxes of Red Rose Tea? Well, that's where our Mermaid came from. But, if your box happened to come with the Sailboat, you could definitely play the Sailboat Game. This could also be called the Army Man Game, the Purple Dice Game, the Little-Pebble-I-Found-Outside Game. You can use anything. 

Now, you may be asking, "What is the Mermaid Game?" Well, basically it's just a game of hide and seek that never ends. 

I don't actually remember how this game started for us. Although, I do know that when it started we didn't expect it to go on for 2+ Years... but I'm so glad it has! Believe it or not, we moved and the mermaid game has continued in out new house. When we were packing everything from our old house I slipped the Mermaid into my pocket, re-hid it at the new house, and simply let the game live on. 

The game-play is really very basic. You find some item you would like to play this with, let your family know (I think we kind of skipped this part and it just happened), and hide it somewhere in your house. Everyone goes about their life as normal and if someone comes across the item they take it and hide it somewhere else. It's that simple. 

As with any game, this game does have rules. Unfortunately, by writing up this post, I have to break the first and most important rule. 

Rule #1: Do not talk about the Mermaid. 
The Mermaid is not discussed. Having said that, there are instances where this rule has been broken. Of course I am breaking it right now, but there was also an instance when it seemed months had gone by and there had been no sign of her. I called an emergency Mermaid meeting and we all agreed, she was missing. A Mermaid hunt ensued, we found her, and the game continued. So yes, we do not talk about the mermaid unless completely necessary.  

Rule #2: Do not remove the Mermaid from her hiding spot or put her into a new hiding spot if anyone is around to see you. 
If you happen to stumble upon her and retrieving her would require climbing on top of furniture and calling attention to yourself, you should definitely wait till the room is not full of people to take her. If you are able to stealthily slip her into your pocket, go ahead. But if there's a chance of being spotted, it can wait. The same goes for putting her into her new hiding spot. 

Rule #3: Do not hide the Mermaid anywhere too difficult to find. 
Clever hiding spots are great. funny hiding spots are great. But hiding her where no one can find her just isn't fun. She should never be completely out of view unless she is in a location that is frequented by most of the family. E.g. The medicine cabinet, the cookie jar, etc. 

Rule #4: Do not hide the Mermaid in any of the bedrooms. 
This rule may not be necessary in every household, but in my house our bedrooms are not high traffic areas. Usually the only people in the bed rooms are those that it belongs to. If your family has two children who share a bedroom and parents to tidy for them and tuck them in every night, then the bedroom would probably be fine. We considered making a no bathroom rule before we decided that it was one of the highest traffic areas as well as one of the most entertaining rooms to hide her in.   

Easy enough right? We take the Mermaid Game very seriously in our home and you will be scolded if you are found breaking any of the rules. You may also be asked to relinquish the Mermaid to whoever caught you and let them hide it, rightfully losing your turn. 

Another good idea is to put a limit on how long she can be in one spot. If you have hidden the Mermaid and 3 weeks later you realize she is still in the same spot, then it's probably too difficult of a hiding place and she should be moved. 

Here are just a few ideas to help get you started on your own game. 
 Surround the Mermaid with colors that camouflage her. This can make hiding in plain sight especially fun. If she's camouflaged the eye of your opponents will pass right over her.

Use the flaws of your home's construction. Little spots like this one pictured below are perfect for the Mermaid. 

 Hide the Mermaid in unexpected places. No one expects her to be in with the straws. Think about where you would be least likely to look and hide her there.

Incorporate her into your seasonal decor. It's extra fun to use things that are not always there. Just make sure she is not packed away with your Easter eggs when spring is over. 


I hope you enjoy this game. Please share your family's thoughts and any rules you would add in the comments. I'd love to hear how this game took off in your household! 


Monday 13 February 2017

Sock Bun Tutorial


This is a super easy hair style that will stay up all day! 

Whether you need the perfect hairstyle for a ballet recital, an easy up-do for your Tinker Bell costume, or you just need a bun that you can count on, this is it. And all you need is a sock, two hair ties, and a few bobby pins


 I first learned how to do this at a birthday party when I was about 15 years old. My friend (the birthday girl) had a woman over to do henna tattoos on us. This woman used to be in the military and she told us that in the military women have to either cut their hair short or get it to stay up and out of the way. She showed us with an old sock how she had been taught to keep her hair up.. I (thinking this technique seemed very interesting) was voted her model... so, even though I ended up having a fantastic up-do, I had no idea how she had done it because I don't have eyes on the back of my head. When I got home that night (yes she let me keep her old sock) I took it down in front of the mirror so I could see how it was done and just reversed the process to put it back up. 

As you see, between being in the military and dancing on stage, this is the perfect bun! 


This past New Year's Eve Costume Party  my sister Mary was Princess Leia and I put her hair up using this same technique only with two side ponytails. And (as promised on that post) I will now give you the tutorial! 


Start by cutting the toes off of a sock. The sock should be a similar color to your hair just in case any of it peeks through, although if your hair is really thick that shouldn't be a problem. 

The thicker/bigger the sock you use, the bigger the bun will be. My sister (my model)  has long, thick hair, and, looking at the picture, you can see there is almost two sections to the bun. If your hair is medium length, and/or you use a bigger sock, the lower part (the part that wraps around the bun) will not be as prominent. 

Now, take your sock at the bottom (where you have just cut it) and hold it in both of your hands so that your thumbs are inside the sock and the rest of your fingers are supporting the outside. Start rolling it outward. Once you have rolled up the entire sock it should resemble a doughnut. 

There are actually things you can buy that do the same thing as this sock. They are called Hair Donuts and you can buy them on Amazon HERE. I have never used one of these, but the way I see it is if you have a sock, why buy one of these donuts? If you have ever used one, please leave a comment and let me know what you thought of it? Is it any different than using a sock? 


Put your hair (or whoever's hair) up into a high pony-tail. The higher the pony, the higher the bun. If you want a bun right on top of the head, that's where the pony-tail should be. 


Put the hair through your sock so the sock sits around the hair-tie at the base of the pony-tail.


Spread the hair over the sock so that you have a nice hair fountain spewing out of the center of the sock. Put a hair-tie over the hair and the sock so that it rests beneath the sock. This creates the bun.


Gather up all the hair that comes out from around the sock and gently twist it all together.


Wrap the twisted hair around the hair-tie, at the base of the bun, and secure with bobby pins. For extra fun add a decorative scrunchie, some silk flowers, wrap a string of beads around it... and Bippity Boppity Boo! Just like that you're ready for the ball! 

..


Thank you Mary for being a very patient model! 

Tuesday 7 February 2017

Valentine's Day Fortune Cookies and Printable Gift Tags


Valentine's Day is almost here and we will soon have chocolate and rose bearers knocking down our doors! I love this time of year. Everything is beautifully white with snow and we have extra comforters on our beds. We can sit safely inside, at our candle lit dinners, as the snow gathers against the windowpanes. It's already so beautiful, then comes along Valentine's Day and we find cute little cards and hunt down flowers to show those we love how much they mean to us. 

 What are your romantic plans for the holiday? 

Why not make some super cute, Chocolate Covered Fortune Cookies?

Whether you make these for/with your kids or for that special someone in your life, anyone would appreciate this delectable commemoration of the holiday. They are super fun to make and an excellent crowd-pleaser! 

I made them as favors for a Valentine's Day Dinner.


What you'll Need

  • Chocolate Chips or Melting Chocolate
  • Parchment or Wax Paper
  • Baking sheet (Optional)
  • Fortune Cookies 
  • Valentine's Sprinkles
  • Saucepan and Metal Bowl or A Double Boiler
  • Rubber Spatula 

I used two 12 oz bags of chocolate chips, one of white and one of semi-sweet milk. But I also made about 150 cookies... So, unless you are making 150 cookies, you shouldn't need that much chocolate. 

The fortune cookies are from Market Basket. They have bags of them for under $2.00 with approximately 40 cookies in them! It's an amazing deal. If you can't get to a Market Basket, I know Walmart had some, though not for as good a price. You can buy them HERE which is a better deal than Walmart, but not as good as Market Basket. If you're looking for them at your grocery store they are generally kept in the produce department. I know... Go figure. 

Also, you should buy more fortune cookies than you'll need. Some of them will be broken. 

I wanted sprinkles that were more specifically for Valentine's Day than just pink and red (Like little hearts or something) But I had the darndest time finding them in the stores. I have, since, looked on Amazon and they do have some that are super cute! 

Melt the White chocolate on a low temp

Prep: You'll need to open all of the fortune cookies (If yours are individually wrapped.)  If you're doing this with kids, they should all be opened ahead of time. It can take a while to open them - especially if you are making 150 of them - and they can easily break in the process if you're not careful getting the wrapper open. 

Set up your double boiler. I just used a small sauce pan and a stainless steal bowl that fit nicely on top. Put water into the pot so it just kisses the bottom of the bowl. Put your chocolate into the bowl. This double boiler method will allow the chocolate to melt with out it being directly on the heat, preventing it from burning. 


Lay out the Parchment (or Wax) paper on the counter. If you need to transport them before they harden you can put the paper on a baking sheet rather than on the counter. 

Prepare for the sprinkles by setting out a plate that you can shake them over for minimal mess.... who am I kidding? There will be sprinkles everywhere. The plate's really just there to make you feel better about yourself. 


Melting Milk Chocolate: Melt the milk chocolate with the heat at medium. Once it's all melted turn the heat to low or simmer to keep it warm. Stir occasionally.

Melting White Chocolate: White chocolate doesn't behave the same way as milk or dark chocolate when it's melting. You have to keep the temperature at low or simmer and be really patient with it. If you have the heat too high, or rush it, you'll cook the chocolate, causing it to be lumpy. Which doesn't work at all for dipping. Stir occasionally.

Don't melt all of the chocolate at once. You can start with a little and keep adding to it as you go. It's hard to estimate how much you'll need and this keeps you from wasting any. It will also keep the white chocolate from being over the heat for too long. 


Dipping and Decorating: Now for the fun part. 
Once the chocolate is all melted dip the cookies into the chocolate. Before the Chocolate hardens, hold the cookie above the prepared plate and sprinkle your sprinkles over it. I did also try dipping the cookies into the sprinkles. It seems with the white chocolate the dipping method works okay, but the milk chocolate look a lot better if the sprinkles are shaken/poured over them. 


Now that I'm thinking about it, maybe with kids the tidy factor of dipping outweighs the attractive factor of sprinkling. 


Place the dipped and decorated cookies onto the parchment paper with the nicest side facing up. Leave them till the chocolate hardens. After about 10-15 minutes they peal off of the paper beautifully. 

Print out the Valentine's Day Tags given below.  Place the cookies into little plastic bags and tie the tag on with a pretty pink ribbon. 


I made these cookies the same way (only with these cool metallic and pearl sprinkles) as favors for Our New Years Party and they were a big hit. I've included the PDF for the New Year's tags if you want to make more chocolate dipped fortune cookies to celebrate at the end of the year! 


If you make these, leave a comment with your link. I'd love to visit your page and see the cookies you make!  Happy Valentine's Day


Now, three of these remain: Faith, Hope, and Love. But the greatest of these is Love.  ~  1 Corinthians 13:13